
Revit families allow you to create hierarchies of models, views, and components that work together to provide a complete solution. In this article, we will show you how to create a simple family in 5 easy steps.
But before that, let’s learn more in detail about what Revit families exactly are and how do they help the AEC industry. So, without further ado, let’s get started!
What are Revit families?
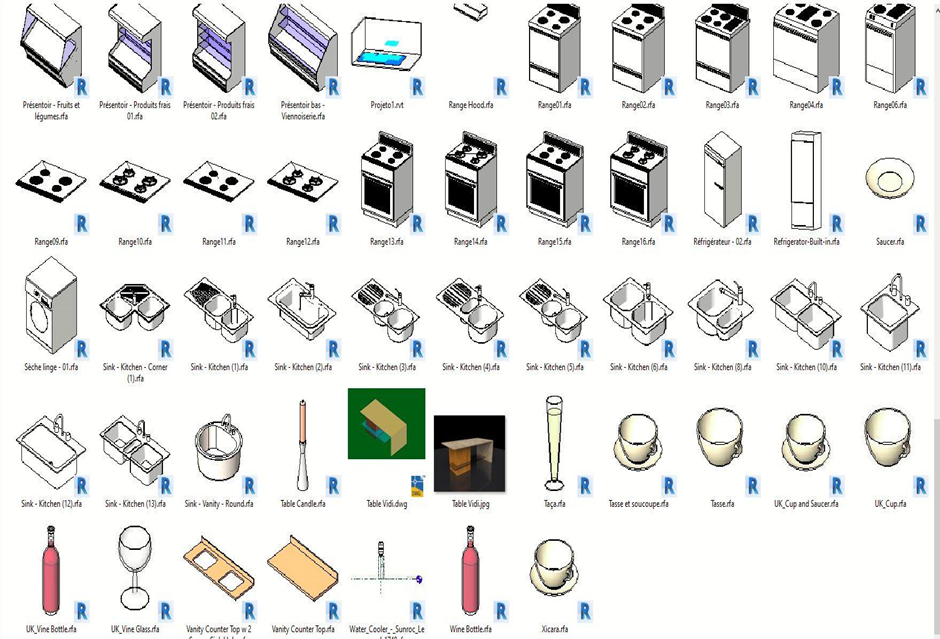
A Revit family is a collection of files that work together to create a specific type of object in Revit. Families can be created from scratch, or you can use one of the many pre-made families that come with Revit. When you create a new family, you specify what type of object it is, and then add the files that make up the family.
The files that make up a family can include 3D models, 2D drawings, textures, and other information. You can control how the objects in your family behave by setting up parameters. For example, you can set a parameter to control the height of a wall, or the size of a window.
Families are an important part of Revit because they allow you to create custom objects that are specific to your project.
How can Revit families benefit the AEC industry?
Revit families are the backbone of the Autodesk® Revit® software. They allow you to create, manage, and share intelligent 3D models and building components. Families can be used to represent all types of AEC industry objects, from walls and doors to curtain walls and complex roofs.
Families have a wide range of benefits for the AEC industry. For starters, they make it easier to communicate design intent. When everyone is using the same families, everyone is working with the same information. This helps to avoid conflicts and ensure that designs are coordinated properly.
Families also help improve workflow efficiency by allowing you to reuse building components multiple times in different projects. And finally, families can help improve construction documentation by providing accurate as-built models that can be used for clash detection and construction coordination.
How to create Revit families in 5 easy steps?
1. Select a template
In order to create a Revit family, you must first select a template. This will dictate the overall shape and structure of your family. Next, construct a skeleton for your family. Begin by adding basic geometry, such as lines and arcs, to define the overall shape of your family.
Once the basic shape is established, start adding in additional geometry to define the specific details of your family. Be sure to use consistent naming conventions for all your elements so that they are easy to identify and modify later on.
2. Create a base
Next, you must first create a base foundation for the parent family. This will ensure that all of the child families will be properly aligned and organized. To do this, you can use the Family Editor to create a new family file, or you can open an existing family file and start from scratch.
The first step is to create the basic structure for the family. This includes the walls, floors, and ceilings. You can then add in other elements such as doors and windows. Be sure to keep everything aligned and organized so that it looks professional and consistent.
Once you have created the basic structure, you can start adding in the specific details for each component. For example, you might want to add different types of walls or floors depending on the project requirements. Remember to keep everything consistent so that it looks like a single-family unit.
3. Make the other families that would be incorporated in the parent family
You must create the other families that would be included in the parent family in order to create a Revit family. The first and most important family is the skeleton or base family. This is the family that contains all of the shared geometry and parameters between all of the instances of the Revit family.
You will then create child families that are linked to the skeleton or base family. These child families contain all of the specific geometry and parameters for each instance of the Revit family. Finally, you will create an instance of the Revit family using one of the child families.
4. Put together your Revit family
Creating a Revit family is like putting together a puzzle. You must place all of the pieces – parameters, constraints, etc. – in the correct order to complete the family. If you don’t, the family will not work correctly in Revit. One common mistake is forgetting to add a parameter. This can cause the family to behave differently when loaded into Revit.

Another mistake is adding constraints before parameters are set. Constraints define how the geometry of the family should behave, while parameters determine the value of that constraint. Placing constraints before parameters can cause unexpected results.
It’s important to follow the correct order when building a Revit family. By doing so, you can ensure that your family works correctly in Revit and meets your design needs.
5. Test out your Revit family
After you have created your Revit family, you need to put it to the test. This means testing it in a real-world setting. You need to see how it behaves in different scenarios. By doing this, you can make any necessary adjustments. It’s important to test your Revit family in different settings.
For example, you should test it in both 2D and 3D views. You should also test it in both imperial and metric systems. Additionally, you should test it with different types of materials. By doing this, you can ensure that your Revit family is functioning correctly.
If you find any problems with your Revit family, you can make the necessary adjustments. This may include changing the dimensions or adding new parameters.
The Bottom Line
In conclusion, creating Revit families is a simple process that can be completed in 5 easy steps. Families can be used to create custom building elements, such as doors, windows, and walls, or to save time and improve workflow by creating reusable content.
By following the steps outlined in this article, you can create your own custom Revit families quickly and easily. Thanks for reading!


It would be more easy if you made a tutorial video about family creation