Using Revit nested Family and shared family are quite an easy process, yet, for new Revit users or maybe some users that have not explored the leverage of this process, it can initially be a little difficult.
Once you comprehend these features of Revit you will wonder how you ever lived without using them, and not only that, the opportunity of endless customizations of many Revit families opens now for you.
Objectives
- Understand what is a Revit Nested Family.
- Understand what is a Revit Shared Family.
- Learn how to link and associate parameters to a Revit Nested Family: Nest parameters.
What you should learn and know in Advance
- You should have Autodesk Revit Installed on your PC.
- You should have installed Revit Family Templates.
- You should have basic techniques and notions about Family creation.
To start with, let’s break down the term nested family then we’ll talk about shared families too and how they are different, and why you should use these effective features.
Revit Nested Family
It is a term used for a Revit family that is made inside another family. When the host family is inserted into a project, it will be the only family that is loaded in.
Revit Shared Family
It is a term used for a family that has the ‘shared’ tickbox ticked in Revit properties. And when a Revit Shared family is nested in a host family, and that host family is loaded into a project, both of them, the host family and the nested family will be displayed in the project browser.
Revit Nested Family and Revit Shared Family: Differences
Revit Nested Families
As we said earlier, Revit nested families are families that have been ‘nested’ into other Revit families. When we say nested we mean loaded. Any BIM Revit modeler who is good at family creation will use nested families. They greatly facilitate the family creation operation by classifying different elements of the BIM model. Let’s take the example of the creation of a table on Revit. The legs of the table can be created in one Revit file as a family. The tabletop in another .rfa file and the two could then be merged in a third family. That’s it, quick and simple.

- While it would be doable to create both of these nested components in the same family. Using this method would mean All the constraints, equations, and reference planes that make the table base won’t interfere with the tabletop, and conversely.
- Any modification and updates to the tabletop or base can be created without the fear of affecting the other Revit elements.
- Any Revit user foreign with the model can smoothly perform error analysis with quite more ease.
Revit Families Paramteres
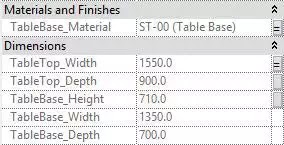
Furthermore, any parameter made in these Revit nested families, whether they be instance-based or type-based, can then be connected to the parameters into the hosting family. Thereby giving you the capability to either utilize their constraints in equations or have their dimensions influence other nested families.
To do this, load your Revit nested family into your host family and go to the type or instance property you wish to connect.
Linking can be accomplished by selecting the little grey box next to the parameter, and clicking this box will take you via the traditional process of creating a new parameter. After this task is done, the equal symbol will be displayed in the grey box as displayed in the example below.

Now we can notice that the connection has been made, the Revit nested family parameter is now controlled by the new parameter in our host family.Run to the family types dialogue box to find your recently created parameter and start by adding some equations. Or you can simply insert your host family into your project and start operating the linked parameter.

Revit Shared Families
Revit Shared families present an advanced level of Revil family creation for Revit BIM modeler. It’s where things get a little bit more interesting and sophisticated and a little more confusing.
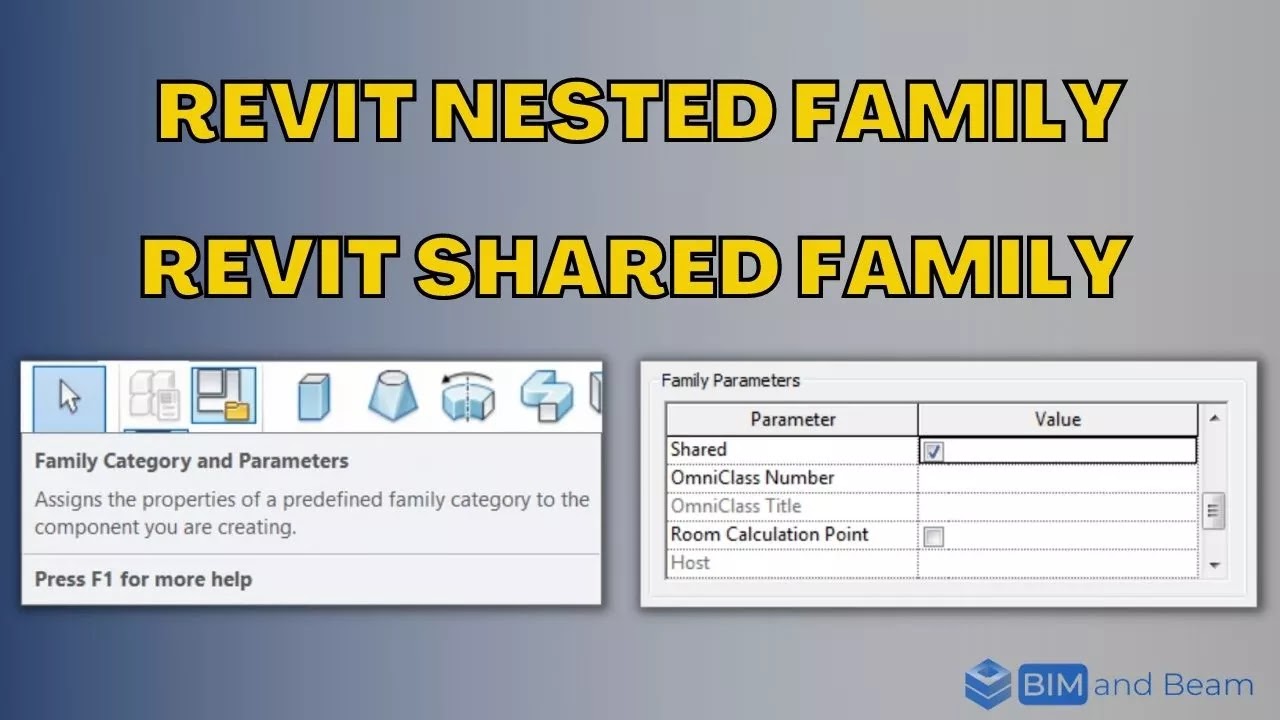
In the recent example, we talked about a nested tabletop connected to the base scenario, updating these to be nested and shared is only a matter of ticking the ‘Shared’ box found in the ‘Family Category and Parameters’ box.

And also it can be found in the elements properties bar when no objects are selected.
Any Revit family can be driven into a shared family. But it will have a number of consequences that are very crucial to be aware of.
Steps
- To start with, shared families are like it sounds, shared. By driving a Revit nested family shared, it will also be loaded into your project along with the host family, observable into your Revit Project browser like any other Revit family.
- It basically becomes a family that can be modified and identified independently of its host if required. While at the same time existing in the host family.
- Any updates and modifications to the nested and shared family can be accomplished directly from the project by modifying the family from the Revit project browser. Bearing those changes to any example in your project.
- This nested shared family can be utilized in numerous host families. Meaning any modifications made will update and edit all host families.
- Nested and shared families can be scheduled independently of their hosted families.
- Nested and shared families can be chosen and tagged into your Revit project, alone of its host family.
- let’s take an example, tagging door handle, and lock in elevation, separate to the door tag. This will work for nested and shared families of other categories. To do this, utilize the tab key when hovering the mouse over the family to cycle via its shared elements. Then select or tag as needed.


