Revit is a powerful BIM tool used by professionals worldwide to design, coordinate, and document projects efficiently. However, even the best-designed models can encounter warnings—alerts that indicate potential issues requiring attention. These warnings, while sometimes overlooked, play a crucial role in maintaining model health and ensuring the success of your projects.
In this guide, we’ll dive into what Revit warnings are, why they’re essential, and how to manage them effectively. Whether you’re a beginner or an advanced user, you’ll find actionable insights to streamline your workflows and improve your projects.

What Are Revit Warnings?
Revit warnings are system-generated alerts that flag potential issues in your model. These range from simple notifications to critical problems that could impact project deliverables. For example:
- Overlapping elements: Two or more components occupy the same space.
- Unconnected walls: Walls that don’t connect correctly with others.
- Duplicate marks: Identical tags assigned to multiple elements. Warnings are not errors but indicators of inconsistencies or inefficiencies. Ignoring them can result in performance degradation, inaccuracies, and complications during project coordination.
Why Address Revit Warnings?
1. Performance Optimization
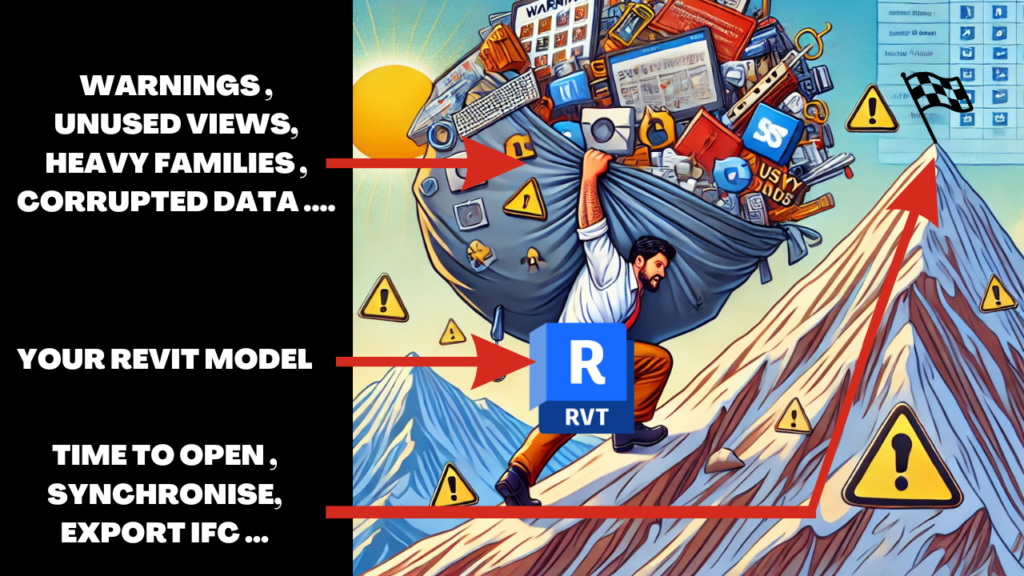
Unresolved warnings can bloat file sizes and slow down your model’s performance. A lean model runs faster and is easier to navigate.
2. Project Accuracy
Warnings often highlight areas where elements might not align or connect correctly. Resolving these ensures design precision and avoids costly mistakes during construction.
3. Collaboration Efficiency
In multidisciplinary projects, unresolved warnings can disrupt collaboration. Misaligned or faulty elements can lead to clashes, impacting timelines and budgets.
For an in-depth look at improving Revit performance, check out our blog post on Revit Optimization Techniques.
Common Types of Revit Warnings
Revit users frequently encounter warnings that can affect project accuracy, model performance, and collaboration. Below are the most common Revit warnings, their causes, and how they impact your project if left unresolved.
1. Off-Axis Sketch Lines
What It Means: Sketch lines in elements like floors, roofs, or walls are slightly off the orthogonal axis (not perfectly horizontal or vertical).
Cause: Inaccurate drawing or importing poorly coordinated CAD files.
Impact: Causes alignment issues, complicates dimensioning, and affects model precision.
Check out this post to know how to fix these warnings
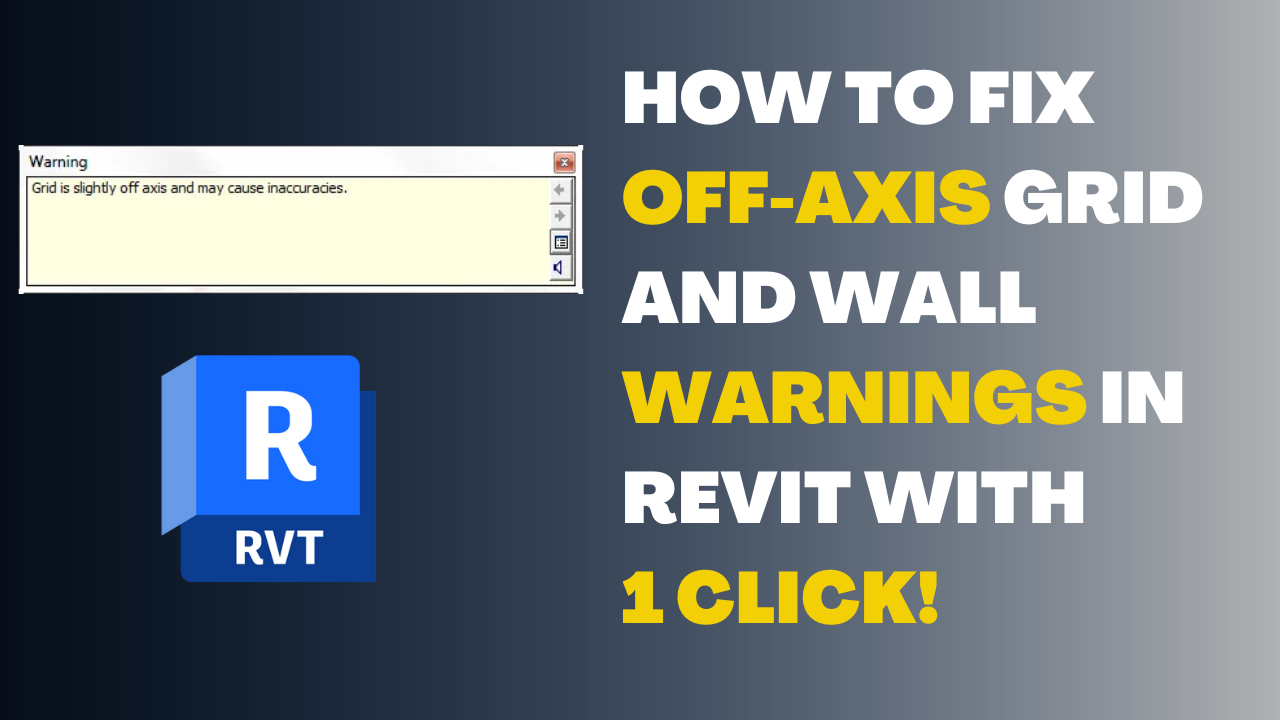
How to fix off-axis grid and wall warnings in Revit
2. Duplicate Instances in the Same Place
What It Means: Two identical elements occupy the same physical location.
Cause: Accidental copying or misalignment during placement.
Impact: Increased file size, incorrect quantities, and possible clashes.
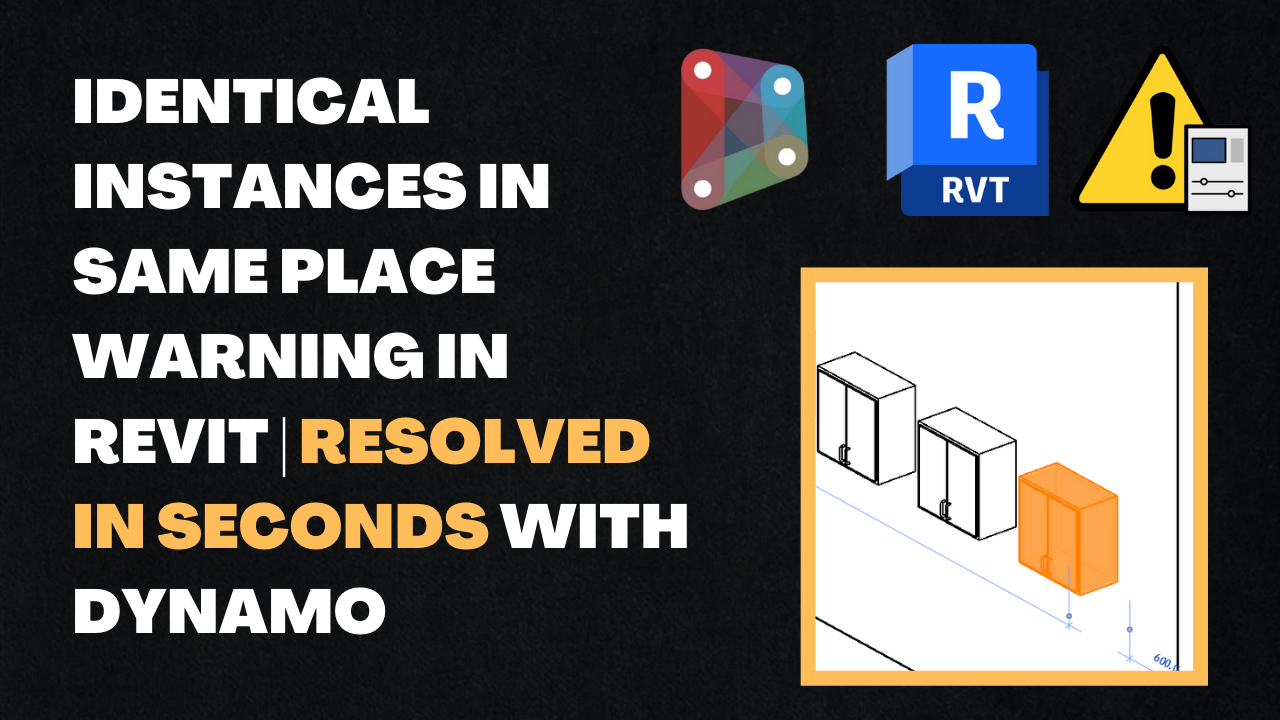
How to fix identical instances in same place warnings in Revit
3. Geometry Is Too Far From the Model Origin
What It Means: Model elements are located far (e.g., 33 km) from the project’s origin.
Cause: Imported geometry or elements created without proper georeferencing.
Impact: Leads to graphical glitches, performance degradation, and inaccuracies.
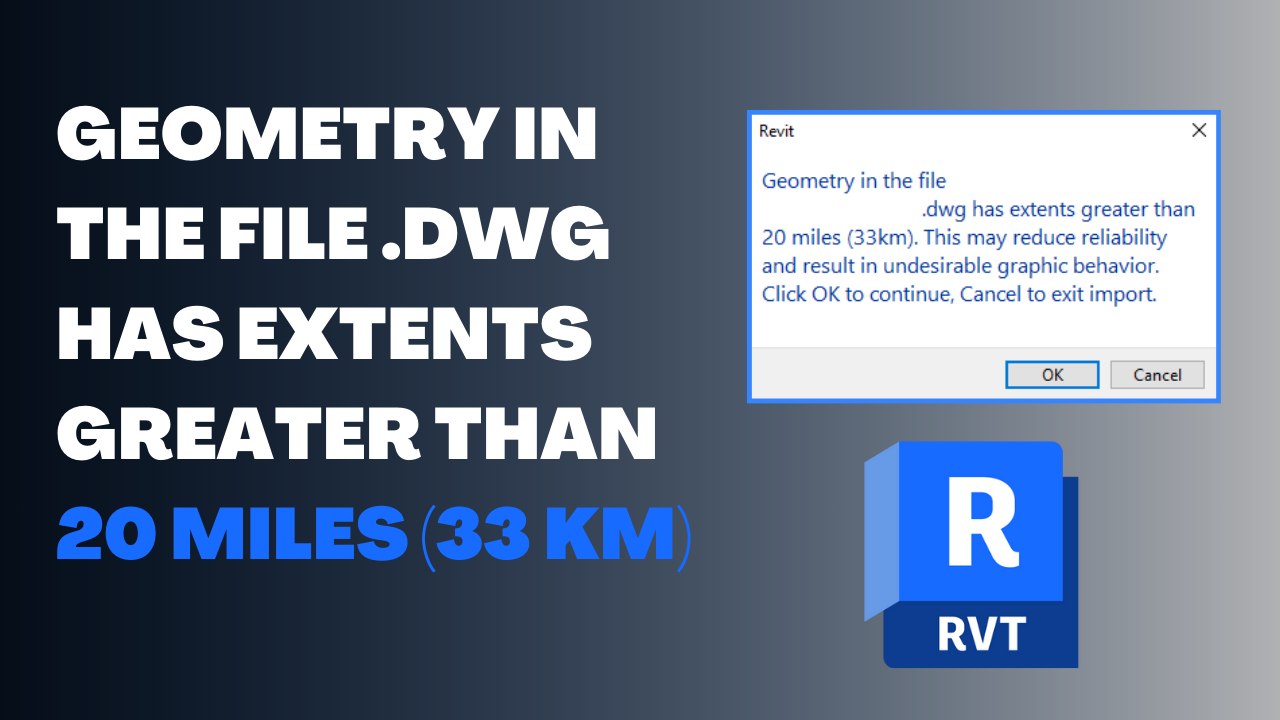
How to fix off-axis Geometry in the File .dwg Has Extents Greater than 20 Miles (33 km) warnings in Revit
4. Room Tags Are Outside of Rooms
What It Means: Room tags are placed outside their respective room boundaries.
Cause: Manual placement errors or unclosed room boundaries.
Impact: Incorrect room schedules and missing data in documentation.
5. Walls or Floors Overlap
What It Means: Overlapping geometry is detected, such as walls or floors intersecting each other improperly.
Cause: Inaccurate modeling or changes in design without proper adjustments.
Impact: Clashes, inaccuracies in quantities, and unnecessary warnings in clash detection.
6. Walls Are Disjoined or Unconnected
What It Means: A wall doesn’t connect to other walls or structural elements where it should.
Cause: Errors during placement or insufficient snapping to other elements.
Impact: Gaps in the model, inaccuracies in construction drawings, and invalid room boundaries.
7. Room Not Enclosed by Boundaries
What It Means: A room does not have a fully enclosed boundary, which prevents proper area calculation.
Cause: Missing or improperly placed walls, floors, or other bounding elements.
Impact: Inaccurate schedules, invalid room data, and errors in analysis.
8. Constraints Not Satisfied
What It Means: Elements have constraints or dimensions that conflict with each other.
Cause: Over-constraining dimensions, locks, or relationships between elements.
Impact: Prevents updates to elements, causing design delays.
9. Multiple Elements Have the Same Mark Value
What It Means: Identical mark values (e.g., tags or schedules) are assigned to different elements.
Cause: Copy-pasting elements without updating their marks.
Impact: Confusion in documentation, errors in schedules, and potential issues in construction.
How to Manage and Resolve Revit Warnings
1. Proactive Measures
Use Templates: Start with a well-structured Revit template to minimize initial errors.
Follow Modeling Best Practices: Establish clear guidelines for consistent modeling across teams.
2. Resolving Revit Warnings
Manual Review: Use filters and schedules to locate problematic elements.
Automate with Dynamo: Scripts can identify and fix warnings in bulk, saving time. Explore Dynamo tips in our blog post on Revit Automation.
3. Preventive Measures
Team Training: Regular training ensures team members understand warning priorities.
Model Audits: Schedule routine checks to catch issues early.
Tools for Managing Revit Warnings
1. Built-in Revit Tools
The “Warnings” dialog in Revit provides a list of all active warnings, sorted by severity. Use filters to focus on critical issues.
2. Third-Party Plugins
Ideate Explorer: A comprehensive tool for finding and managing elements, including those generating warnings.
Archilizer WarChart: Tracks and show warnings in a piechart.
3. Automation
Use Dynamo to streamline repetitive tasks. For example, automate checks for duplicate elements or unconnected walls. Check out our tutorial on Dynamo for Revit.
Best Practices for Revit Warning Management
Establish an SOP: Define procedures for resolving critical warnings before milestones.
Leverage plugins: Use plugins that identify warnings to highlight problematic elements in your model.
Set Warning Thresholds: Agree on acceptable levels of warnings for various stages , example 100 warnings.
Conclusion
Revit warnings are more than just notifications; they’re a window into the health of your model. By understanding, addressing, and preventing these warnings, you ensure better performance, accuracy, and collaboration in your projects. Make warnings management an integral part of your workflow, and you’ll reap the benefits across all project phases.
For more insights on optimizing Revit workflows, explore our blog and stay updated with our Revit Tutorials.
FAQs
1. What happens if you ignore warnings in Revit?
Ignoring warnings can lead to model instability, increased file size, and inaccuracies in deliverables.
2. How often should you check Revit warnings?
Ideally, warnings should be reviewed at every major project milestone and before model submissions.
3. Are there specific warnings that can be ignored?
Some warnings, such as minor geometry overlaps, may not impact the project significantly. However, this decision should be based on a project’s unique requirements.


